Introduction
Back in July,
2000 my family and I relocated from beautiful Exeter, New
Hampshire to Peyton, Colorado. Back in Exeter I had a 28' x
38" garage that I had converted to a woodworking shop,
however, when we moved to
Peyton my garage shrank to a mere 20' x 22' and most of my
tools sat in the basement, being pulled into service only
when necessary.
Since I don't yet have a stand-alone shop in the back yard I
converted my 20’ x 22’ two car garage into my work space.
The shop remains unheated but I do use a Reddy-Heater in the
winter. I was fortunate as a friend of mine loaned me his 8'
x 16' Haul-Mark enclosed trailer with a load gate so I had a
dry secure place to store all my tools during the
renovation. The first obstacle was power; our home only has
a 100A load center. Rather than installing a new 200A load
center, I used the 2 open breaker locations to feed a 60A
sub-panel that would provide me with additional breaker
space for the required circuits. I now have six (6) 240V,
20A receptacles on 2 circuits and fourteen (14) 120V, 15A
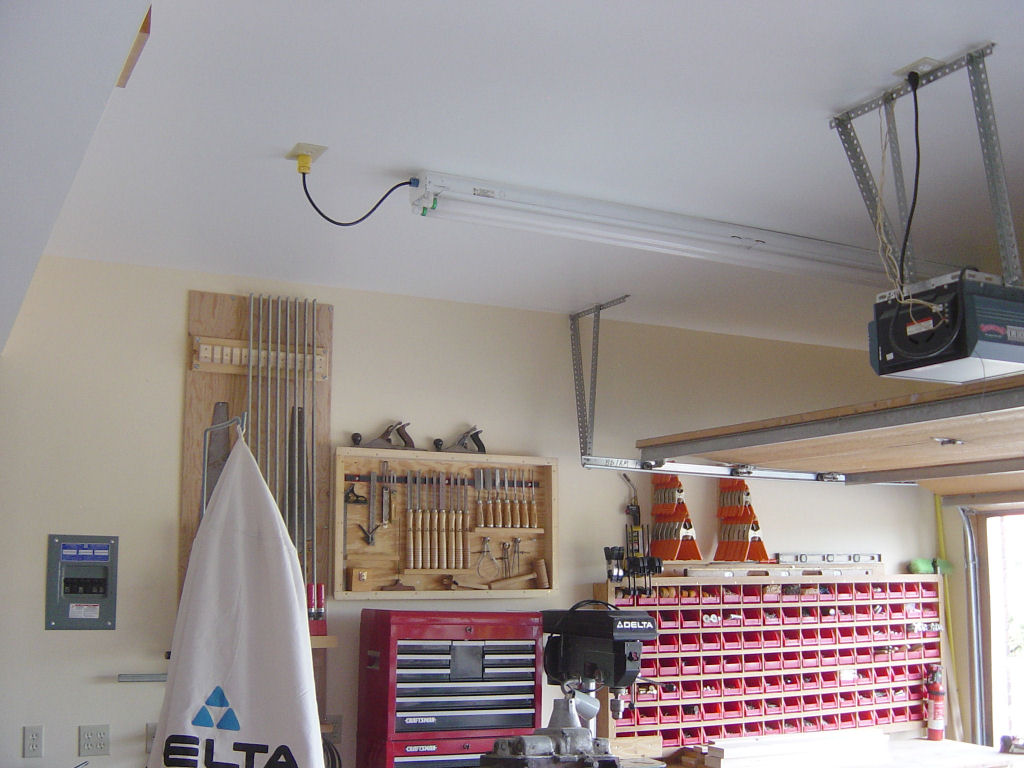
duplex receptacles on 3 circuits. The lighting was also
upgraded to include three (3) 8-foot long high output
fluorescent ceiling mounted lights.
After wiring was completed the walls were insulated and sheetrock was hung and finished. The ceilings are pure white and I chose a light beige color for the walls. I would have preferred to use 3/4" tongue and groove pine on the walls (and will use that when I build my shop in the back yard) but for now chose the more economical drywall. The last thing I wanted to do was epoxy the floor. I've seen floors finished with epoxy and they look sensational. Plus, oil spills clean up easily and a finished floor doesn't seem to hold the fine sawdust like a porous unfinished floor. I rented a floor scrubber and spent a Saturday evening going over it with a variety of cleaners, degreasers and the garden hose but the many stains proved too stubborn. Fearing that, in time, the epoxy would peel and leave me with a bigger mess I elected to forego the floor finish.
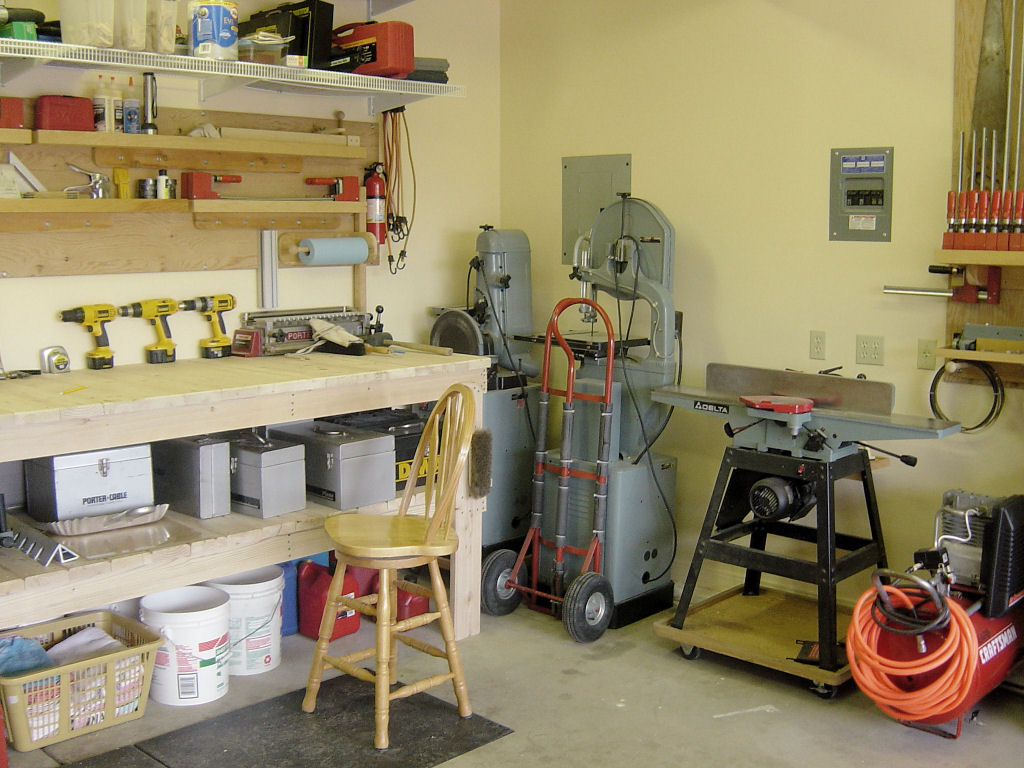
My workbench is made from culled 2x6 lumber obtained from a
local building supply store. When shopping one day I noticed
a pallet loaded with 2x4’s, 2x6’s and 2x8’s in various
lengths and, after inquiring in the store, drove home with
my F-350 fully loaded with dimensional stock for a
whopping $20. After designing the bench, the stock was
machined to rough dimensions and all the pieces where run
through the thickness planer and lightly sanded. Prior to
final assembly the edges were slightly chamfered to
eliminate splintering. The bench is bolted to the wall studs
with lag bolts and a shelf in the middle holds all my
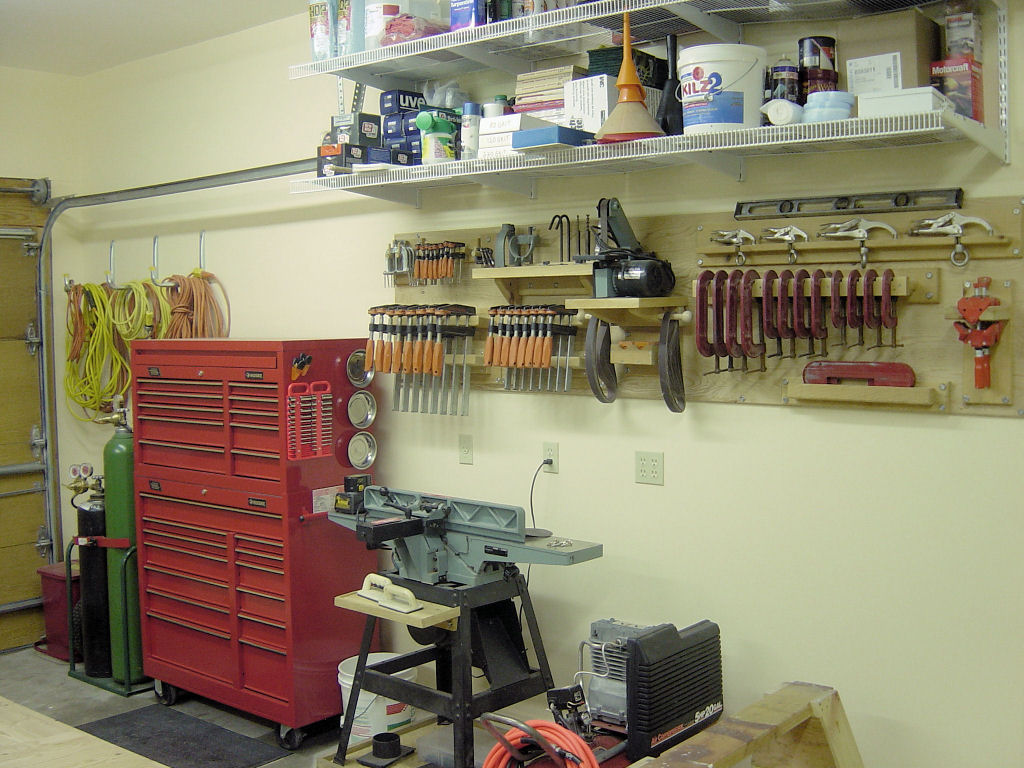
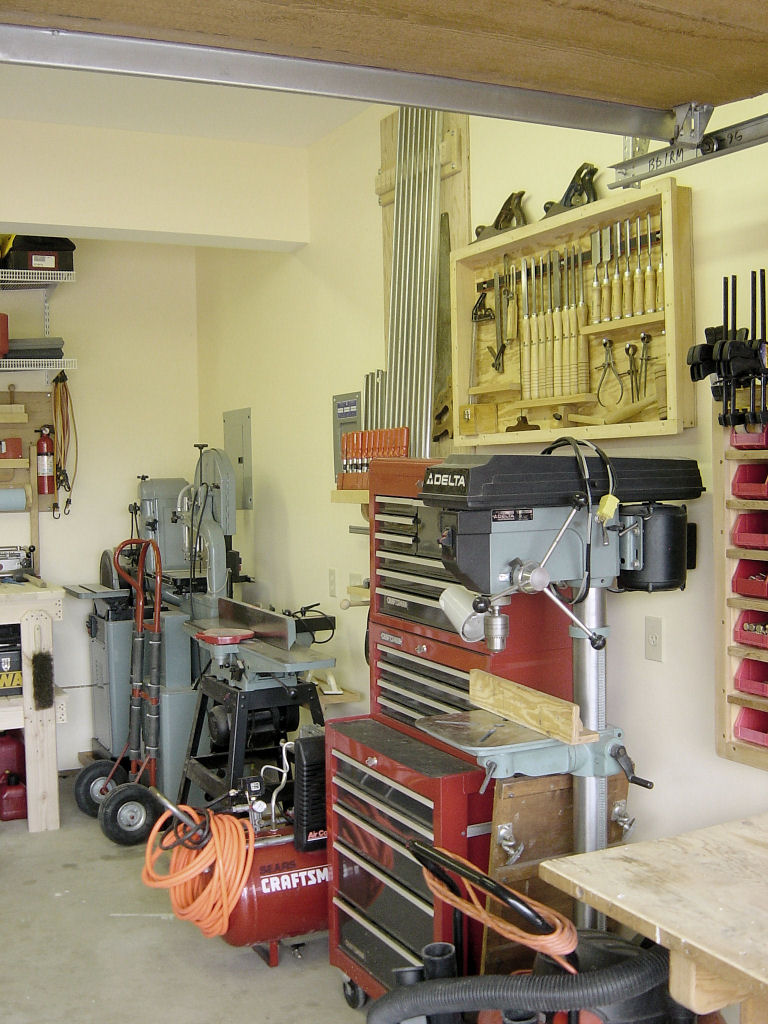
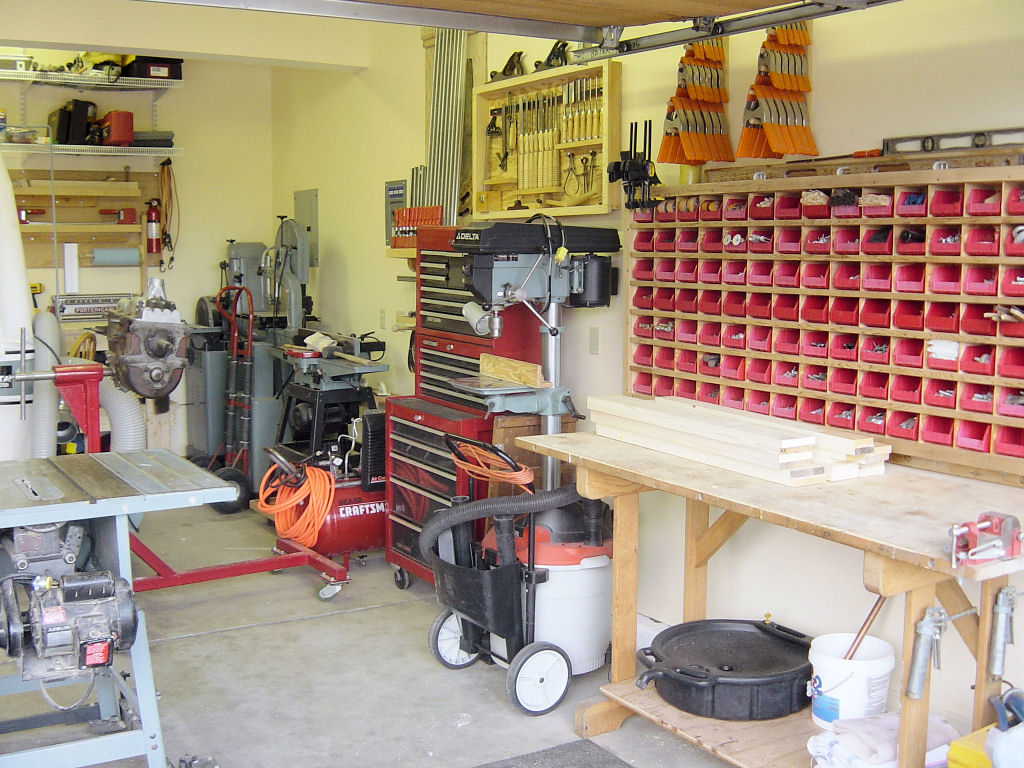
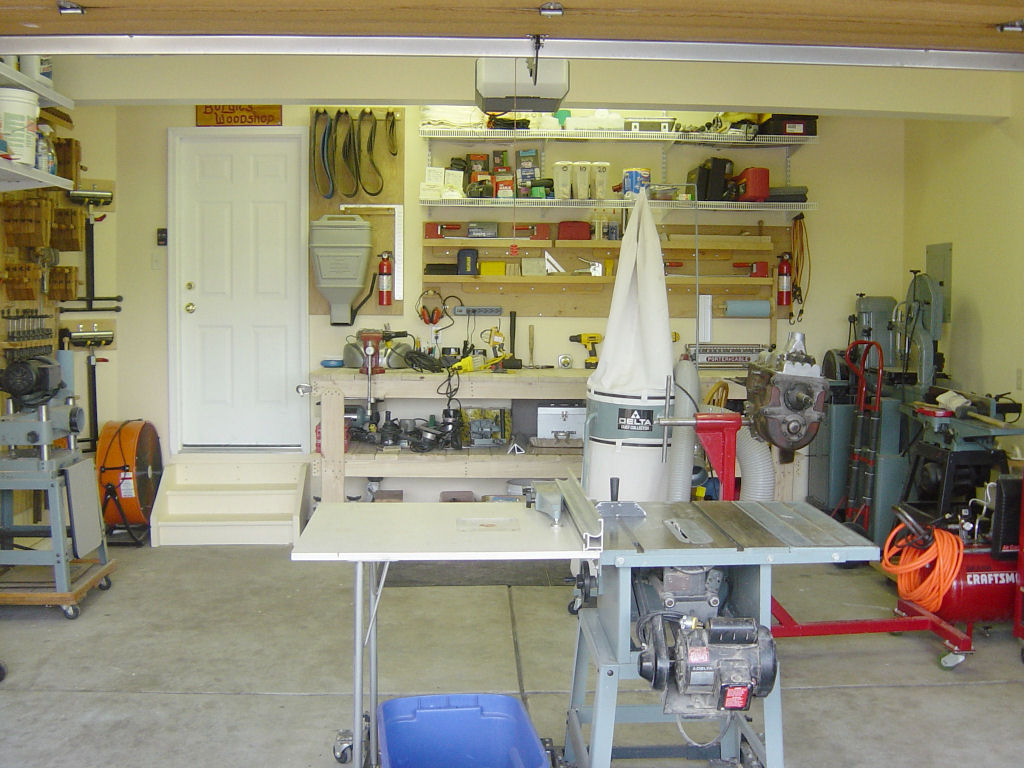
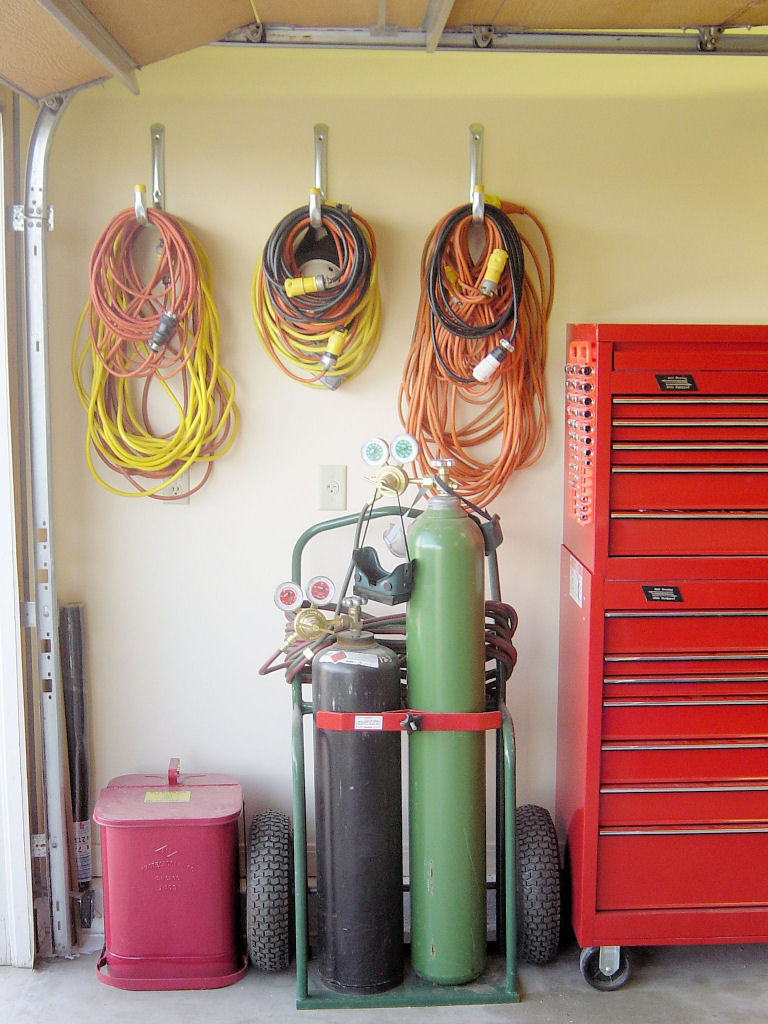
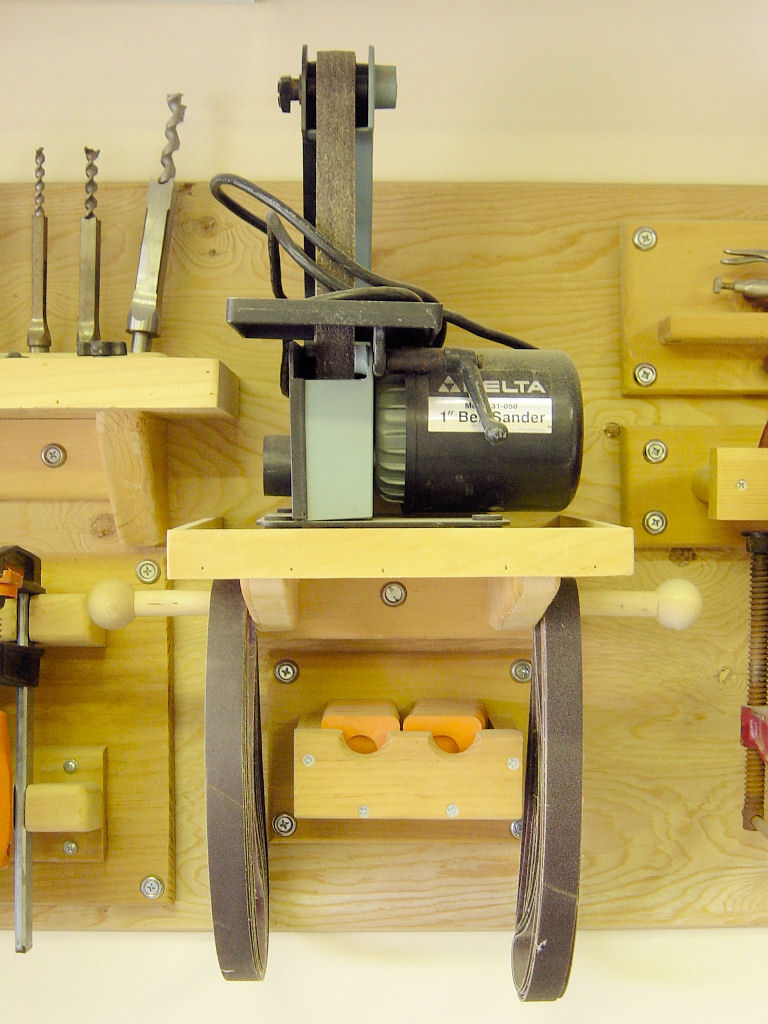
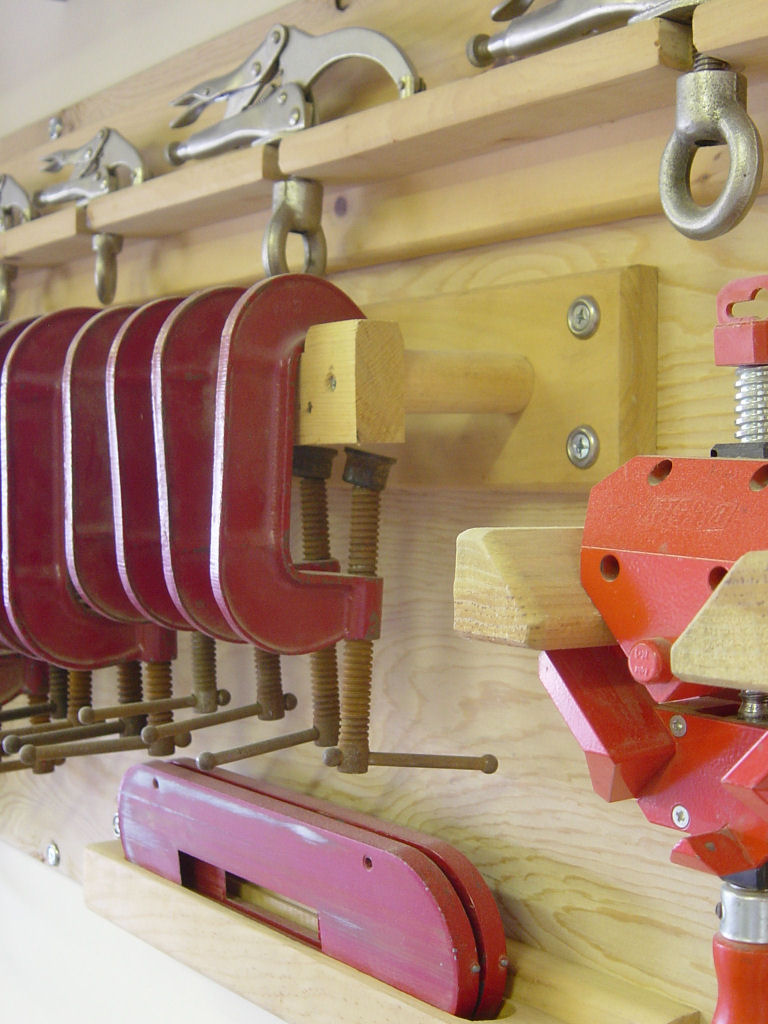
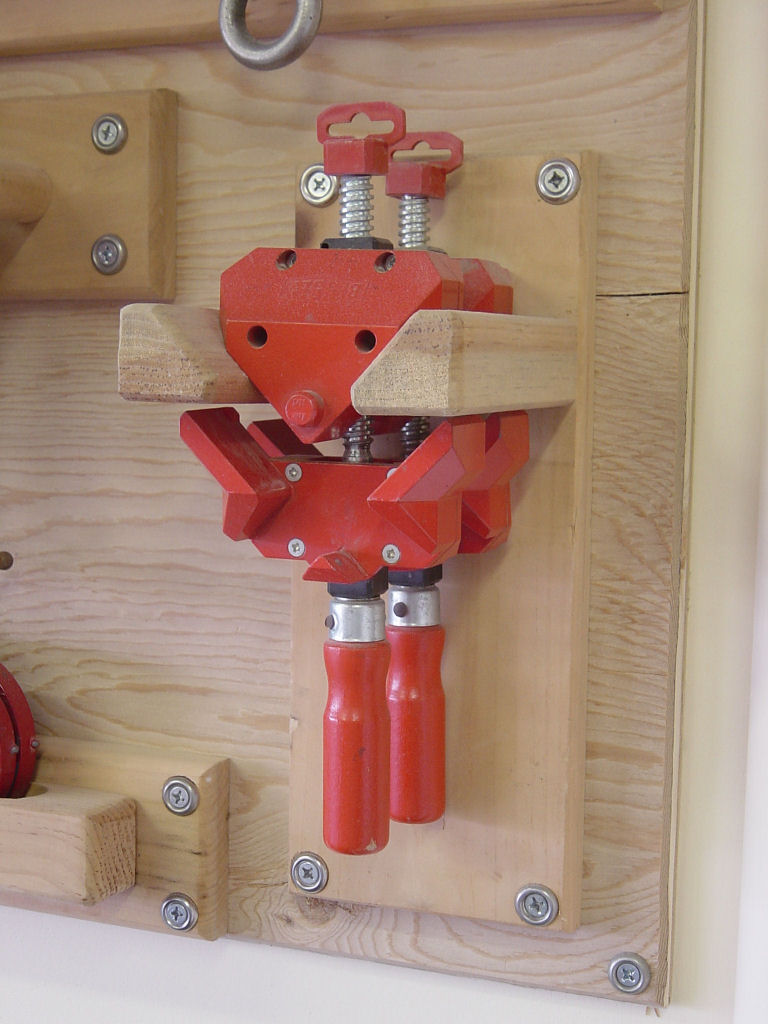
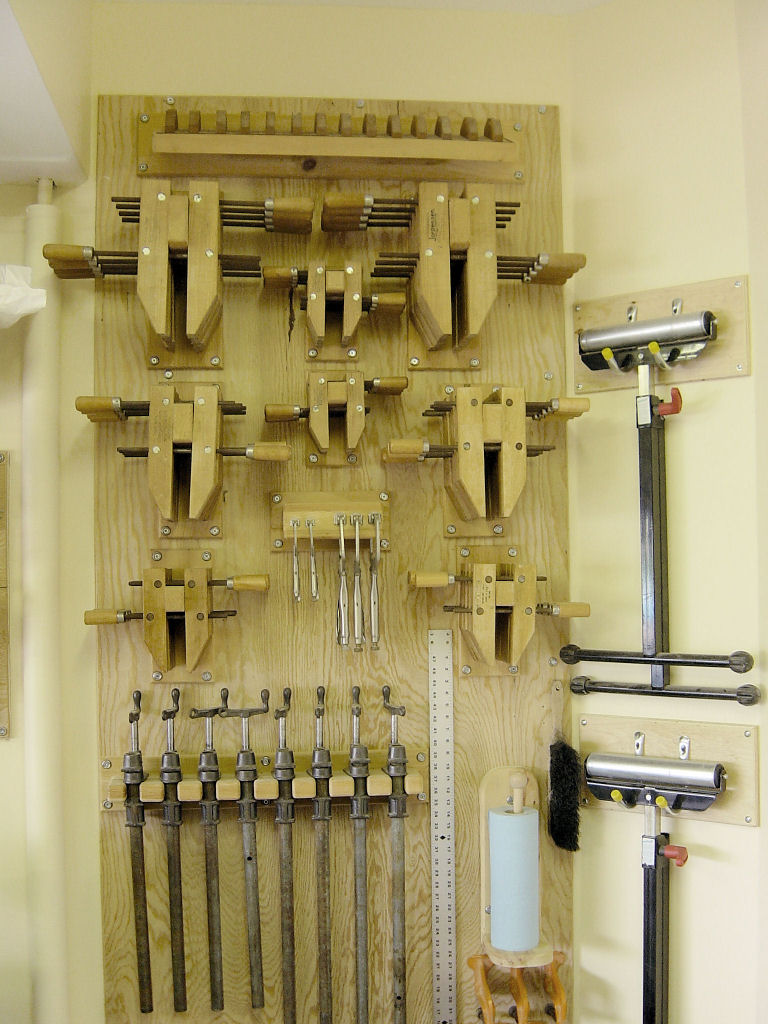
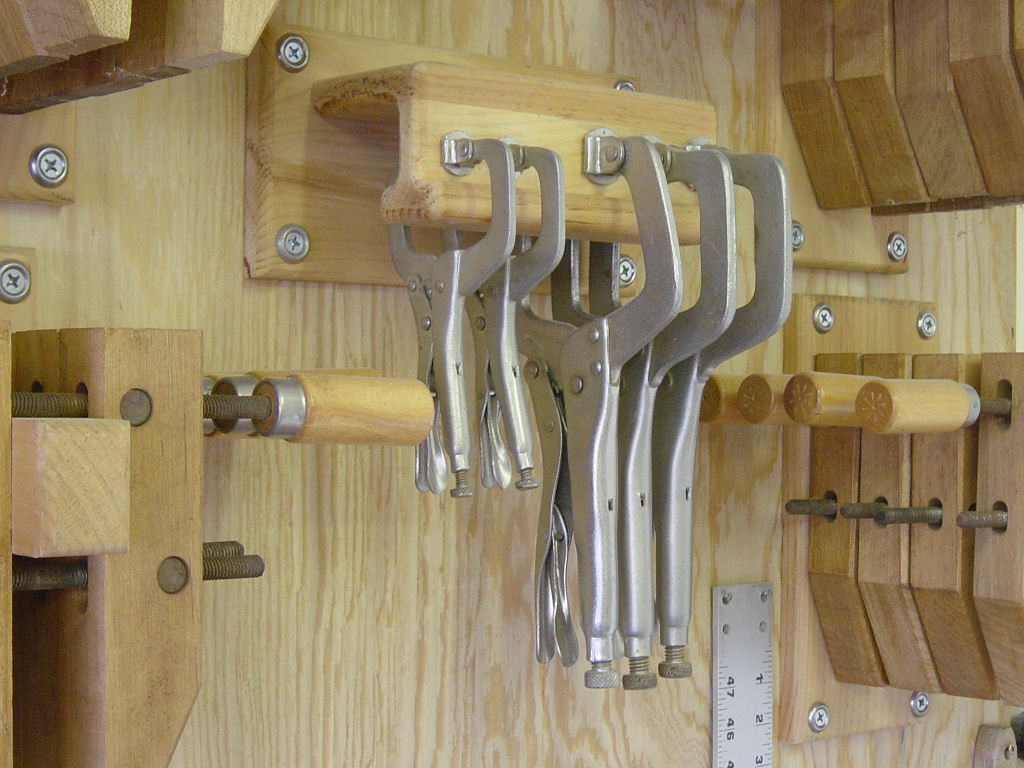
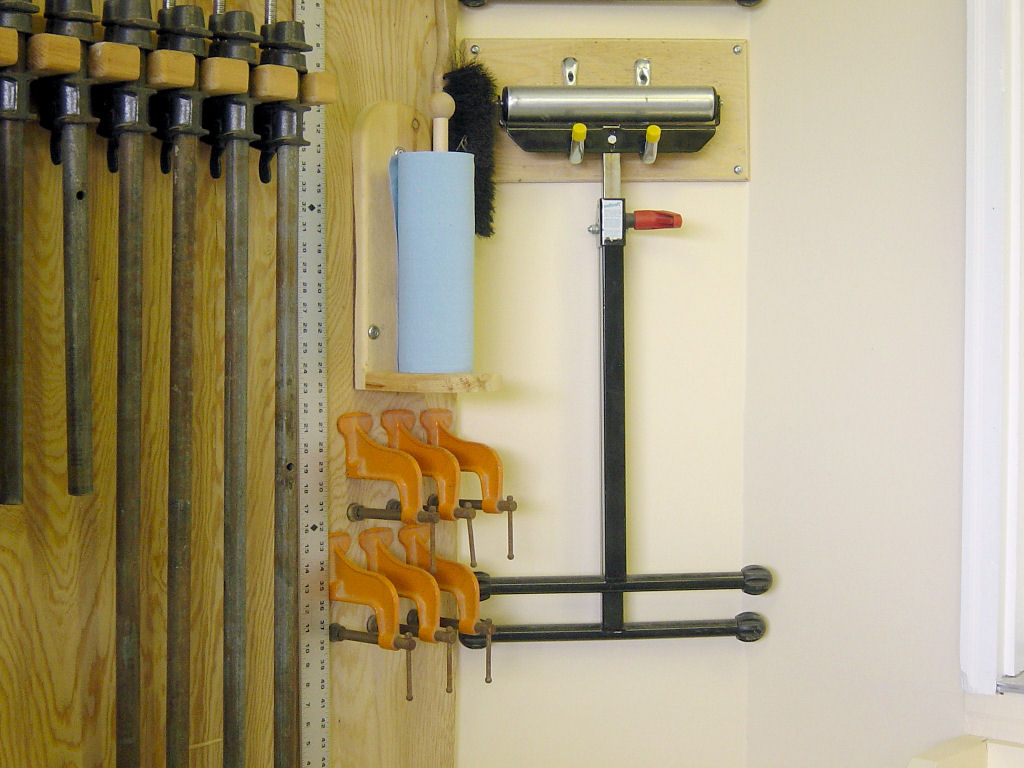
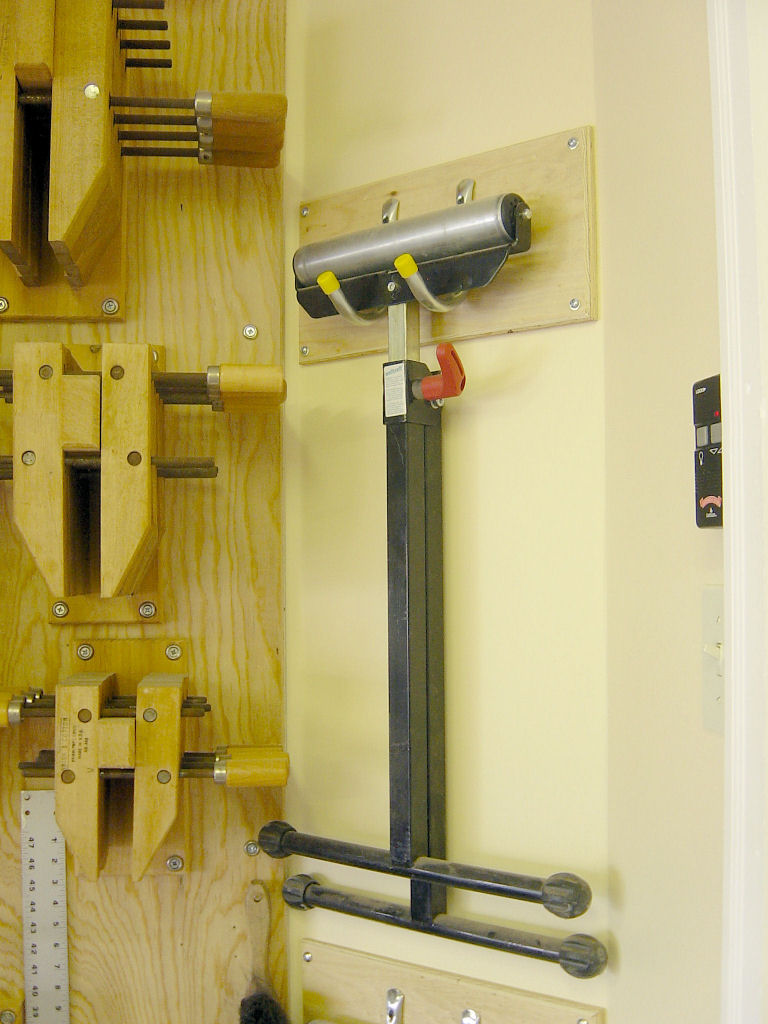
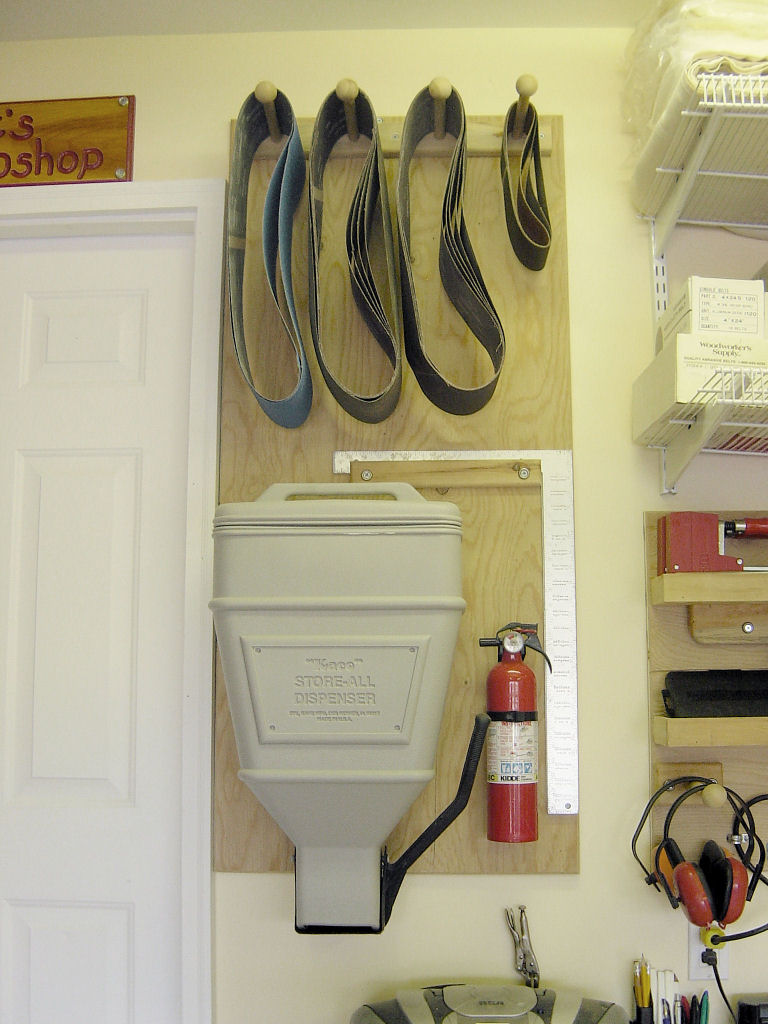
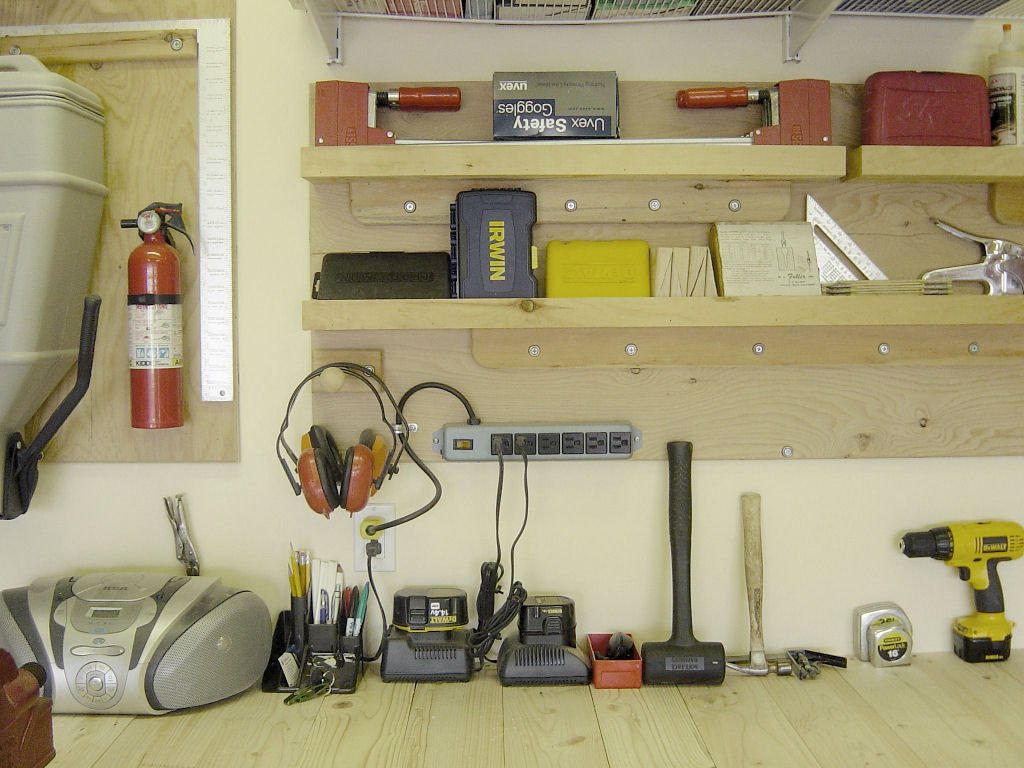
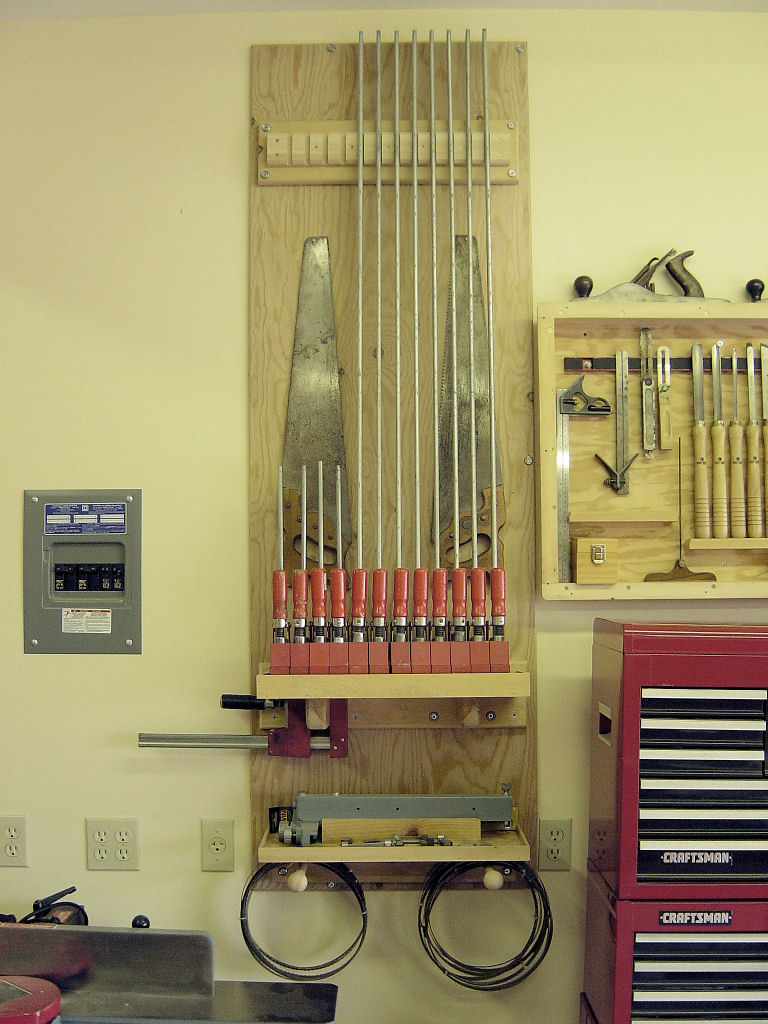
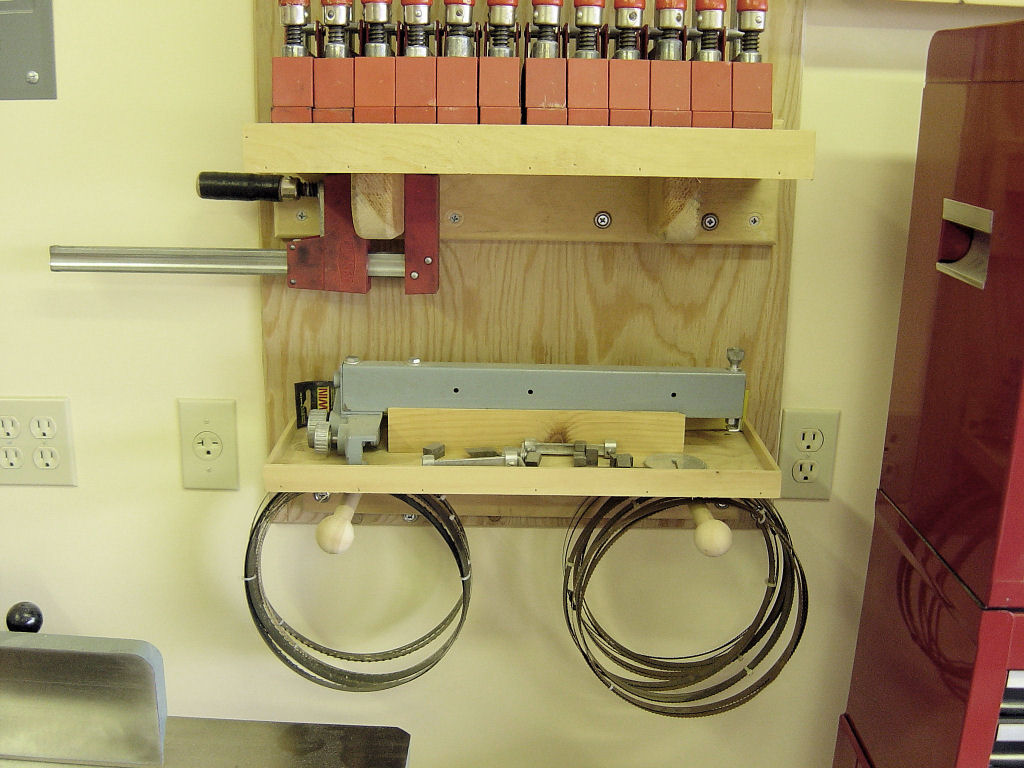
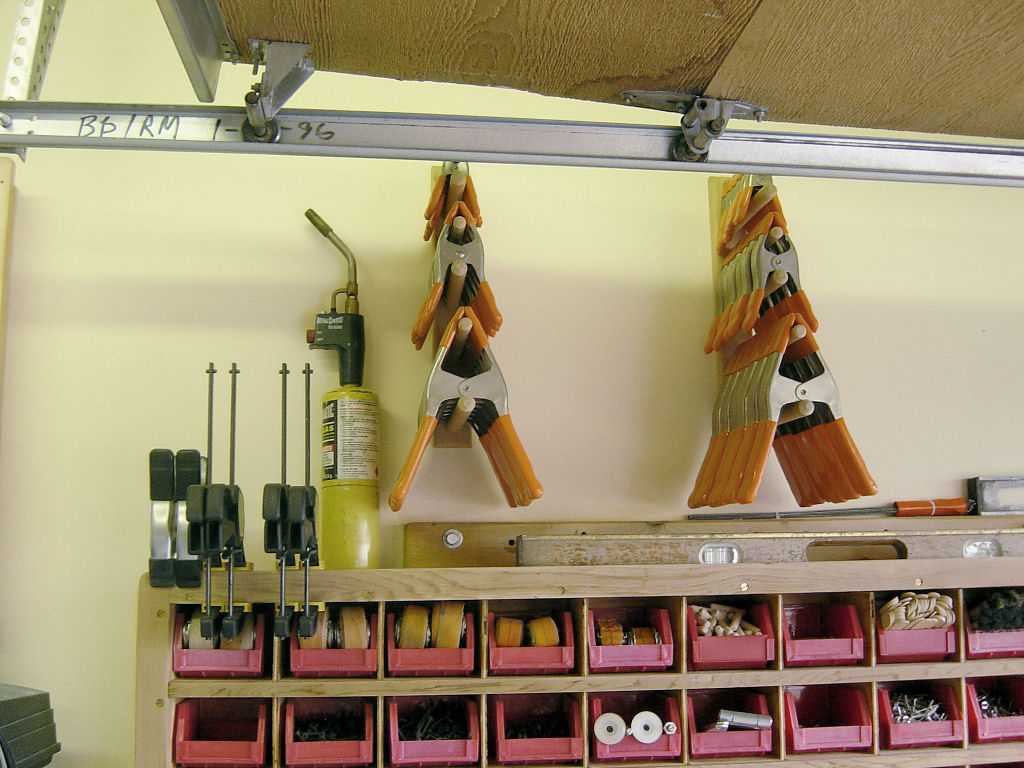
portable power tools and larger hand planes. My shop is small and loaded with tools and accessories but at the same time remains quite functional. The name of the game is accessibility and the layout was based on a simple philosophy of frequently used items being within arm’s reach and infrequently used items being placed higher (while still being readily available). With the exception of my drill press and band saw, all my tools are mounted on home-made stands with heavy duty casters so I can wheel them around easily when they are needed. Given the size constraints of my shop I try to plan projects carefully so as to accomplish similar tasks when a certain tool is setup for operation. I do not have a central dust collection system but my 2HP system works well when connected to my major tools and a good ‘ole fashioned broom and dustpan handles the rest J J. Over the years I have build a variety of specialized holders and fixtures for my tools. I am a firm believer of "a place for everything and everything in it's place"...I hate being disorganized. Shown below are numerous photos from around my shop which includes both overall views as well as close-up views of the various bins, racks and storage fixtures I fabricated for my various shop tools and accessories. All racks are attached with wood screws and decorative washers since the garage is finished with standard ½” drywall. For larger clamps and additional strength a piece of 5/8” plywood was attached to the wall with lag bolts and then the racks were attached to the plywood.
|